
How To Make Grilled Corn
Ingredients
• Corn: The precious sugars in sweet corn gradually convert to starches after harvest, so I always buy the freshest corn I can find (see below for tips) and make sure to cook it as soon as possible. Store in the fridge if you’re not cooking immediately.
Step-By-Step Instructions
Start by preparing your grill for direct heat grilling, i.e., grilling right over the coals or gas burners. Make sure to give the grill plenty of time to get seriously hot—it’s high heat you’re after. Meanwhile, shuck the corn. Here’s best practice: Remove the outer leaves from each ear, then grasp the tassel (the tuft of corn silks that pokes from the top) and the top of the remaining leaves and firmly pull down to remove the husk. (This method has the benefit of removing most of the silks along with the husk.) Break off the husk at the base of the ear and remove any remaining silks.

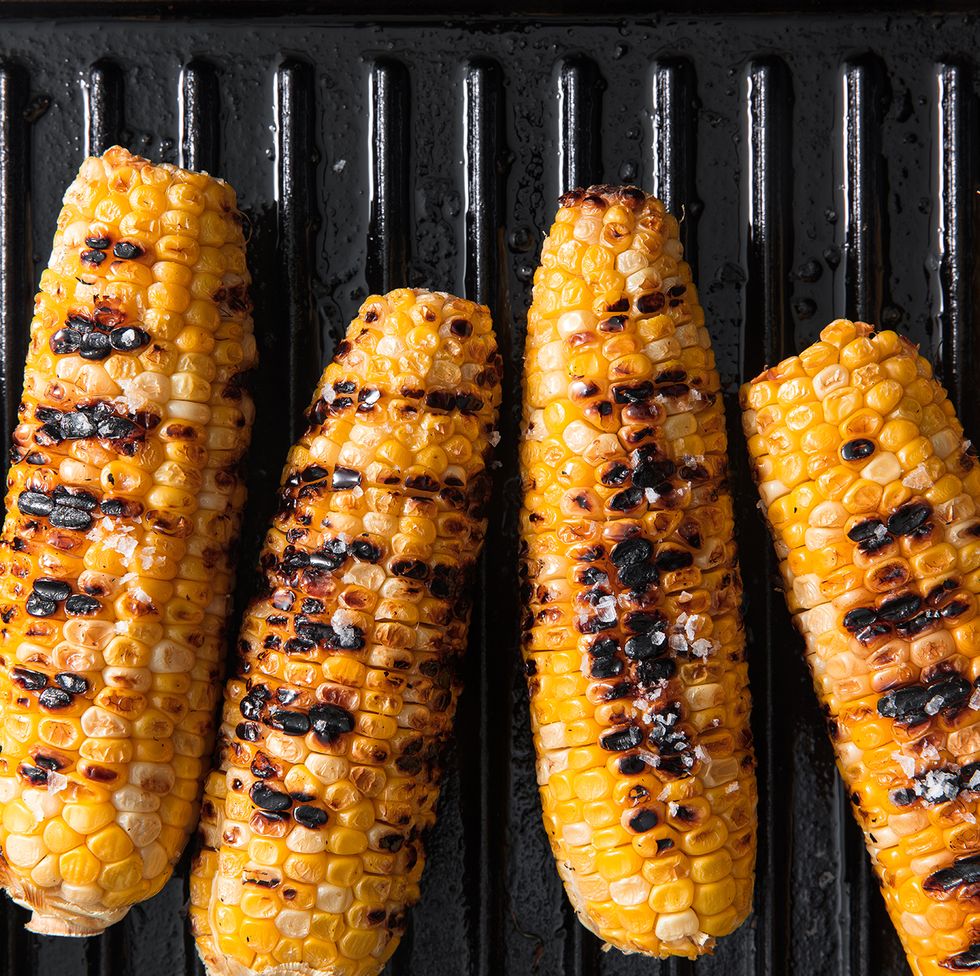
Place the corn on the grill, directly over the heat, and cook, turning occasionally, until beautifully charred all over.

Slather on the butter. Using a pastry brush makes this easy, but a butter knife is more than up to this task. Don’t forget to season with kosher salt!

But butter is just the beginning! Grilled corn is an ideal sweet-smoky canvas for all manner of toppings. Feel free to go wild! Buffalo, cheddar bacon ranch, or flamin’ hot are all great options, or smear on some homemade honey-lime butter (one of my favorites).

Recipe Tips
• How to choose the best corn on the cob: Look for ears with tight green husks and golden brown, slightly sticky tassels (that’s the hairy bit up top) and feel them for plump kernels. Avoid brownish crackly husks and dry or black tassels—signs that the corn is past its prime. The surest way to find the best ears is to peel back the husks a bit to get a peek at the kernels, which should be nice and plump, but limit this to an ear or two or you’ll earn the ire of your grocer.
• Grilling with husks vs. no husks: I love the intense smokiness the comes from grilling corn without the husks, but grilling with the husks on has its advantages too. First, it couldn’t be simpler—just throw the corn on the grill. (You can remove the silks before or after grilling—up to you.) Second, the husks trap moisture, so you wind up steaming the corn as it grills, resulting in juicier—if less smoky kernels—with a subtle grassiness from the husks.
• Can you freeze grilled corn on the cob? Yes, indeed, but you’ll want to shave the kernels off the cob first. To do so, stand up each cob in a large shallow bowl and shave off the kernels with a sharp knife. Transfer the kernels to a resealable bag, spread them out in an even layer, and seal, pressing out as much air as possible. Frozen in that way, the corn should keep well for 8 to 12 months.
Variations

Honey Lime Grilled Corn

Grilled Corn Salad

Sweet & Spicy Grilled Corn
What To Serve With Grilled Corn On The Cob
• Grilled Shrimp: Corn and shellfish make a happy couple, so why not throw some skewers on the grill!
• Cilantro-Lime Chicken Skewers: Shellfish not your thing? These chicken skewers need just a quick marinade to soak up a ton of flavor. Plus, they are happy to share grill real estate with your corn on the corn.
• Best-Ever Burger: No need to overthink it: Throw some burgers on the grill and call it a (perfect summer) day!
Storage
Grilled corn on the cob is best day-of, but in the unlikely event you’ve got leftovers, you can wrap corn in foil and refrigerate for up to 4 days. Or better still, shave the kernels off the cobs and refrigerate in an airtight container.
Made This?
Let us know how it went in the comments below!