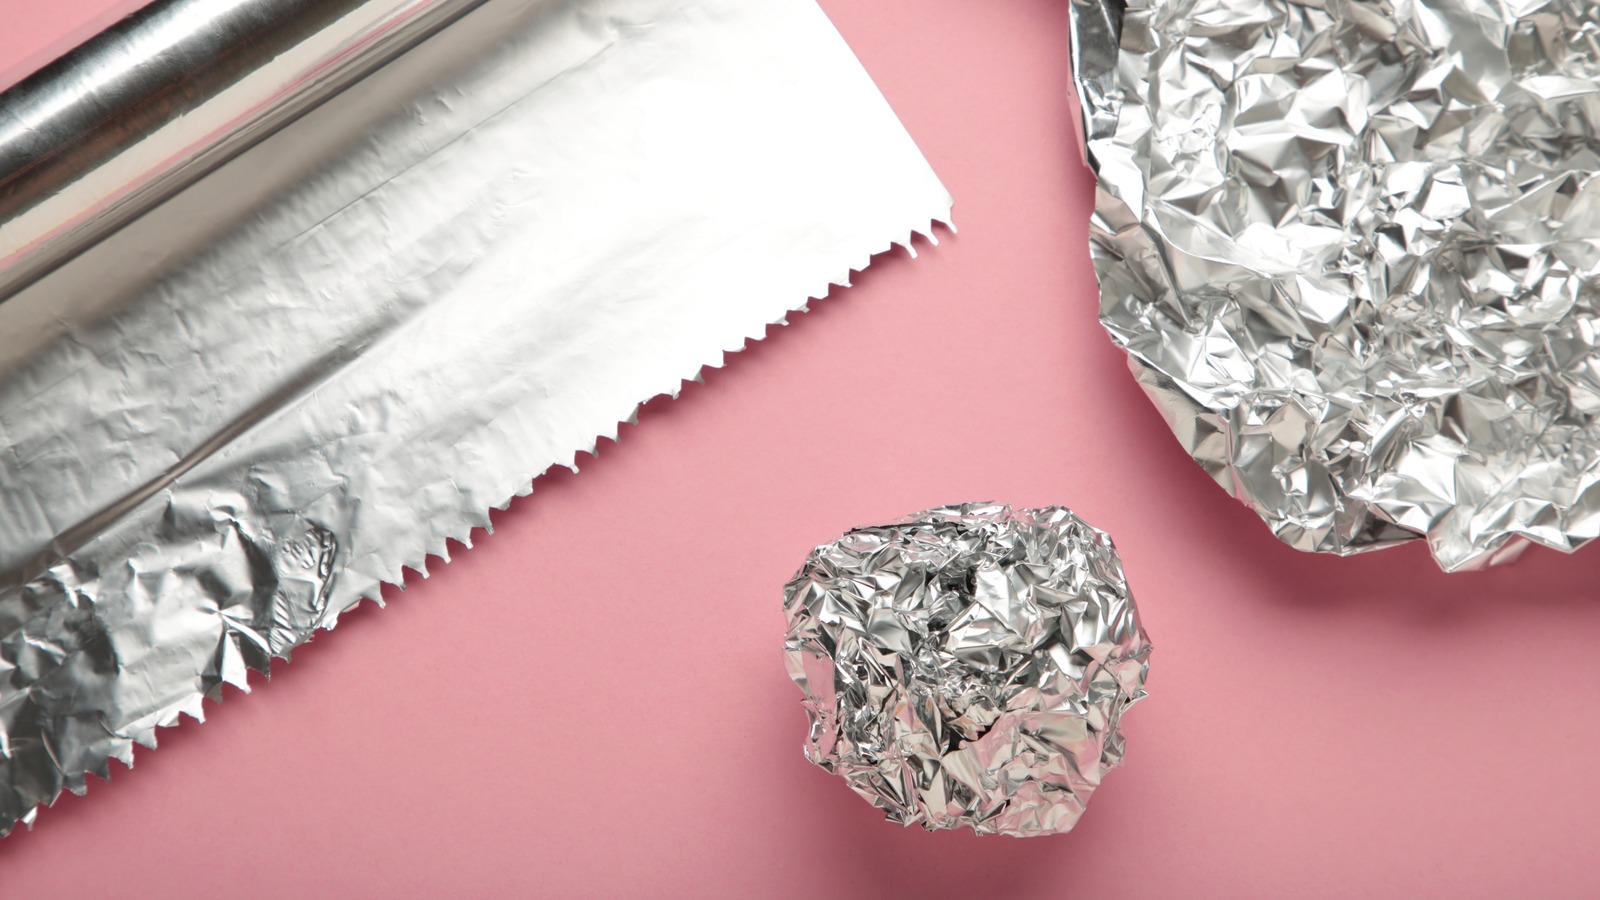
We weren’t kidding when we said this was an easy hack. Simply squish the foil into moon or star shapes (crescent moons are by far the easiest way to get started), and cover it with masking tape. Once you’ve done that, apply the primer, wait for it to dry, and then get to painting. Any metallic shade will do. You can even mix various combinations or dapple it in patterns that mimic shadows or craters. Your project, your rules, and the sky’s the limit!
Once your moons and stars have dried and you’re happy with them, it’s time to decide how you’ll use them. They work beautifully placed as-is next to a lantern or candle for a variation of a moonlit dinner. Alternatively, string them up and hang them wherever you see fit. You could even create a baby mobile as a gift or incorporate them into gift-wrapping for your next birthday party or special occasion.
The great thing with this hack is, as long as you’re still in the foil stage, it’s relatively easy to play around with how the shapes look. Another perk of this budget-friendly foil decor hack is that it’s easy enough to incorporate leftover bits and pieces. The next time you find yourself pulling off a little more than necessary to cover your lunch, cut off the excess and set it aside for your next celestial craft session — a truly stellar way to recycle.
