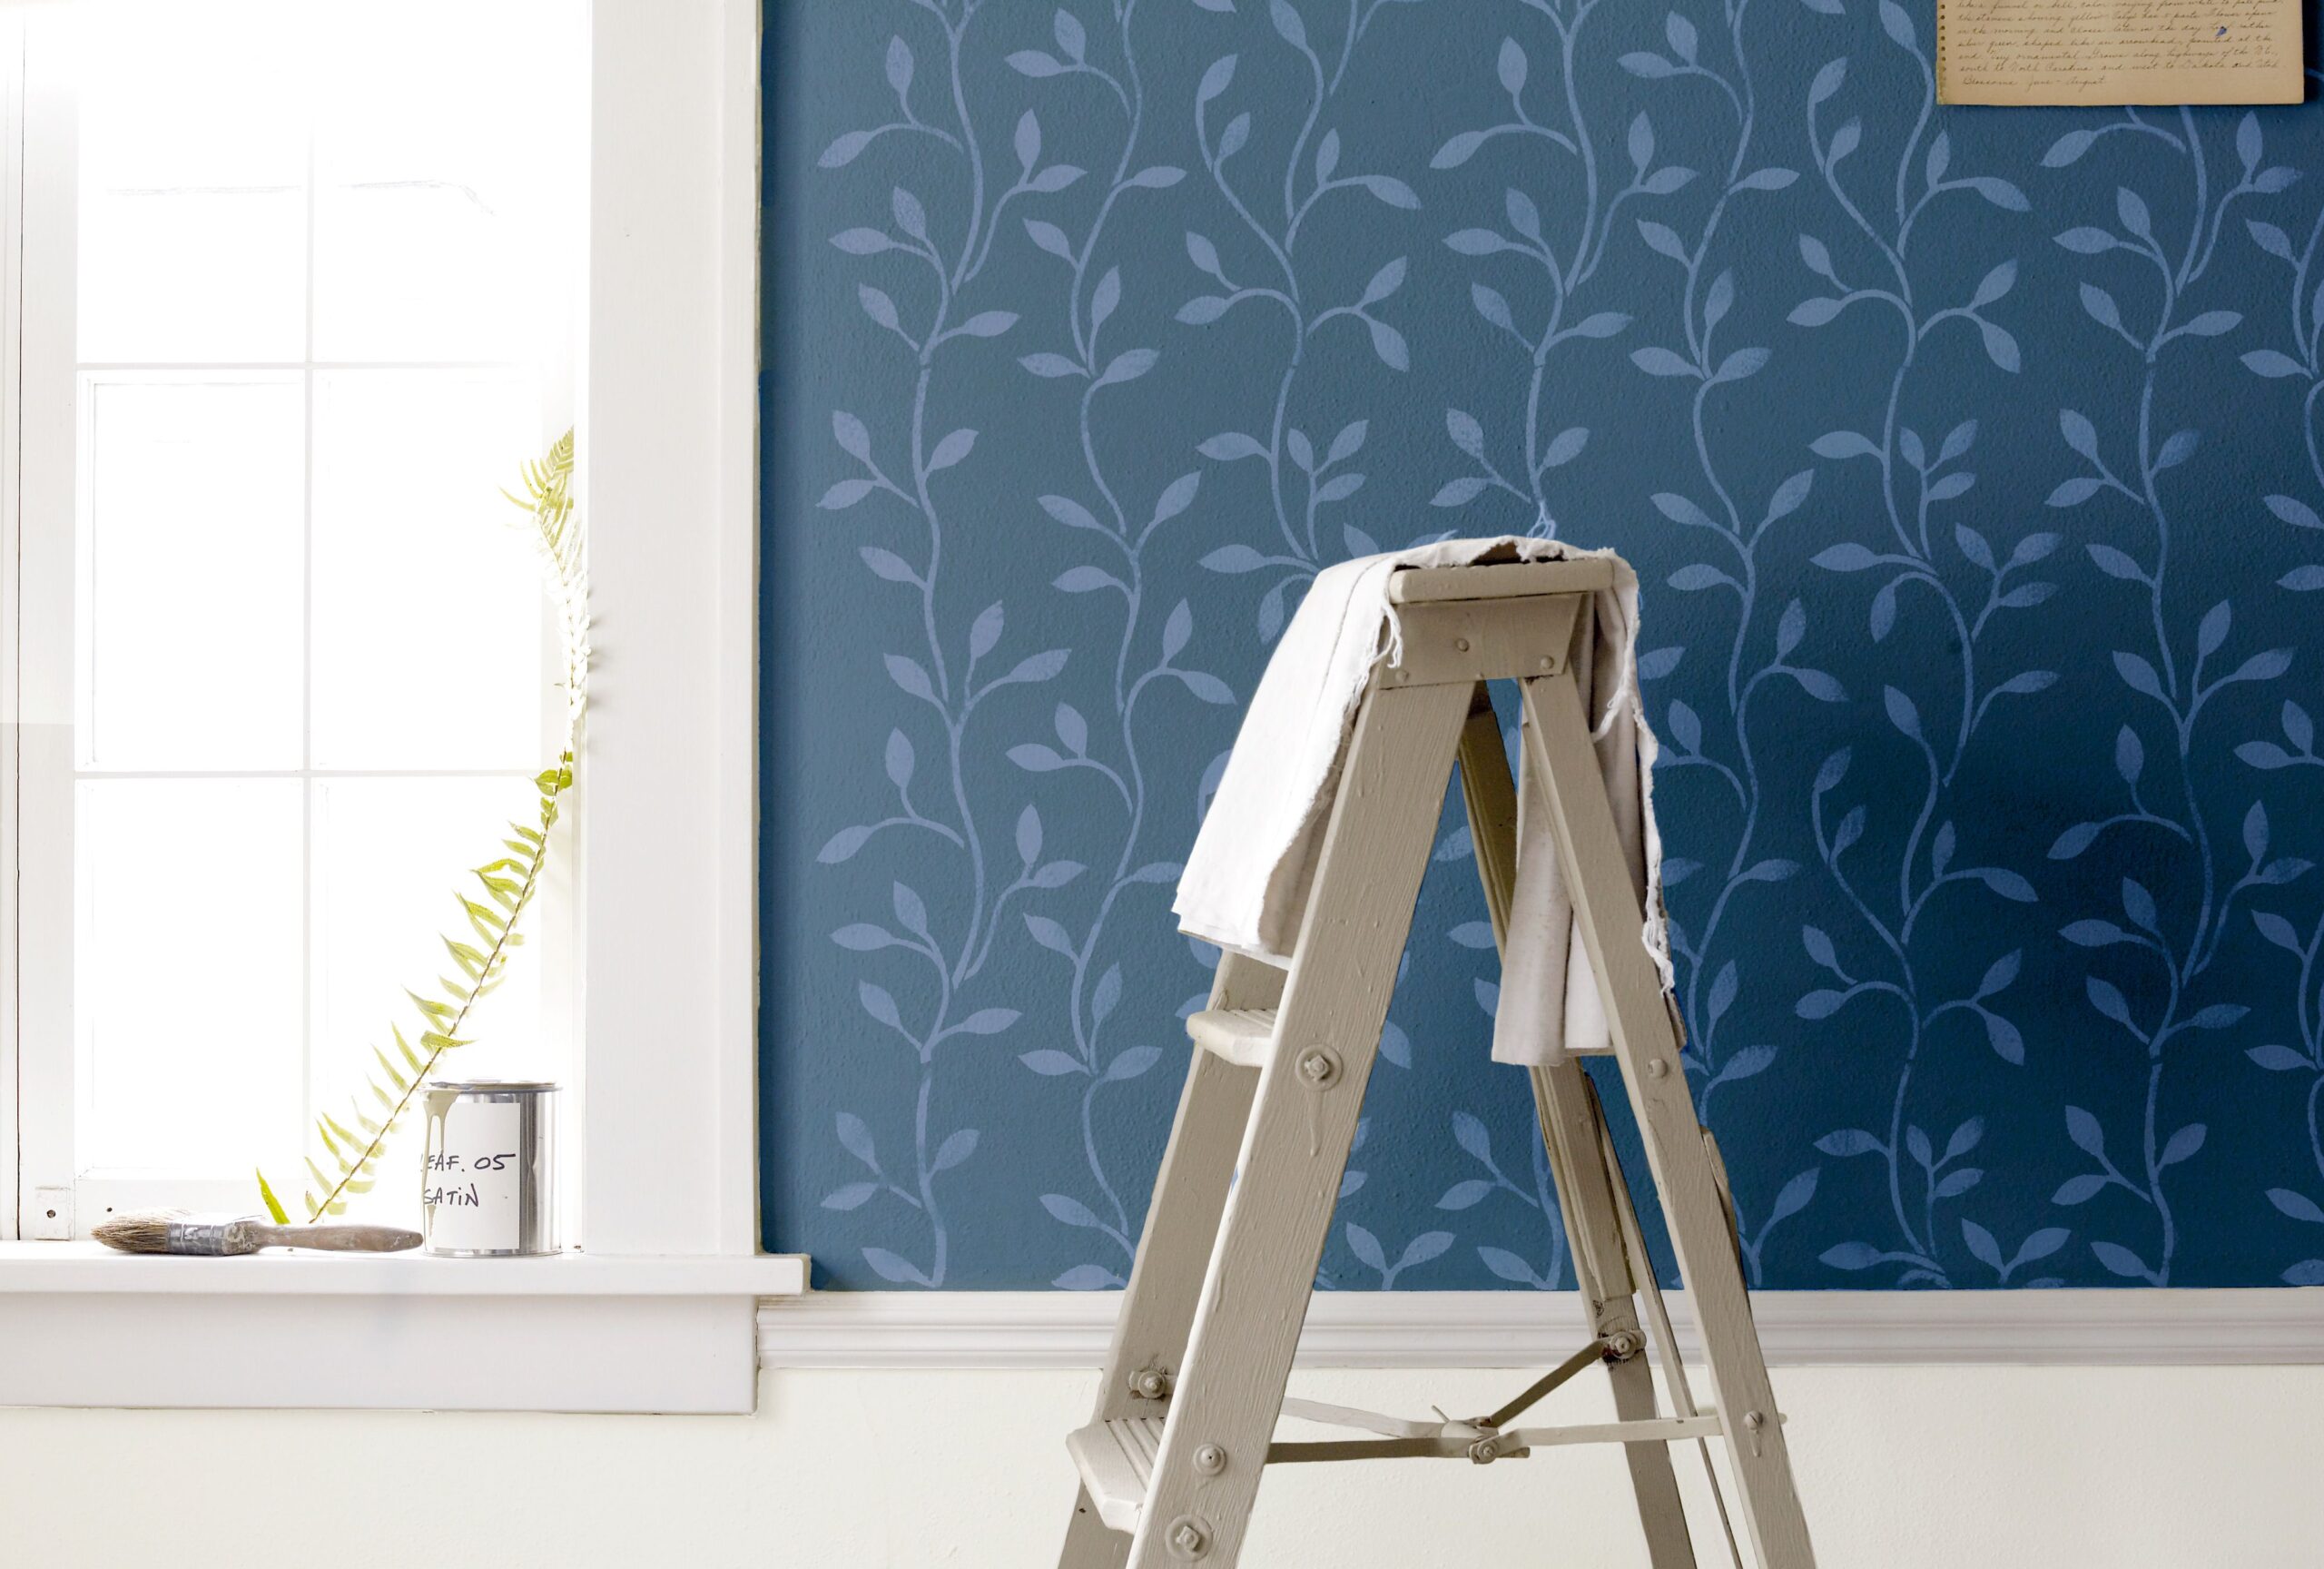
The recent resurgence of wallpaper has encouraged us to welcome playful motifs and colors into our homes. But, wallpaper can be tricky to install, and often requires hiring a professional to get the job done right. Plus, if design inspiration strikes, you can’t change wallpaper in a pinch for a speedy refresh; it requires a thorough removal process.
The solution? Painted stenciling. Originally a fad of the ’90s, this easy wall decor strategy can mimic the look of wallpaper with paint. It’s easier and much more affordable than installing traditional wallpaper, and gives you the flexibility to paint over or change the look whenever you want to. Stenciling can also offer some unique benefits depending on your design goals.
“The painted wallpaper look is a total game-changer. You aren’t confined to a pre-printed pattern, so you can really get creative with mixing and matching patterns and colors to create a truly customized look for your space,” says Valerie Studer, creative projects designer at Michaels craft store. “Plus, painted walls are easier to maintain and refresh over time, so you can get creative without any long-term commitments.”
To help you learn more about this DIY home decorating trend, Studer shares her insights into the recent trend, along with helpful tips for achieving the look in your own home.
Stenciling Is More Affordable than Wallpaper
When comparing stencils and wallpaper head-to-head, stenciling is typically more affordable than wallpapering. Studer explains these savings are due to the lower cost of materials and the project’s full DIY capacity. Since stenciling doesn’t require outsourcing the job to a professional—which can skyrocket your decorating budget—you can upgrade your walls with minimal financial investment.
Because traditional wallpaper is printed with specific dye lots, requires pasting, and pattern matching, you often need to buy more than you need in order to get it just right. With the DIY route, you can recycle stencils and leftover paint for different home decor projects and crafts.
“Stenciling is the budget-friendly rockstar of wall decor,” Studer says. “While the initial investment in quality stencils and paints is necessary, these materials are generally more affordable than purchasing rolls of wallpaper.” Plus, when you use a stencil, you have precise control over the amount of paint you use, which reduces your material waste and cost.
Skip the Lengthy Wallpaper Installation
Because large stencil patterns are made for this specific purpose, you can tackle this job in a few hours. Of course, the square footage you’re working with and the intricacy of your stencil will impact your total project time. But, unlike wallpaper, which requires a strict process (measuring, pasting, and aligning patterns), stenciling is more flexible and takes less time.
“[Both wallpaper and stenciling] need some TLC in prep and execution, stenciling gives you the freedom to work at your own pace,” Studer says. “There is no waiting around for glue to set or sweating over aligning patterns perfectly. With stenciling, it’s paint, peel, and ta-da.”
How to Pull Off the Stenciled Wallpaper Look
Both wallpapering and stenciling can design eye-catching walls in any part of your home, but they differ in skillset level, time, and budget. It’s best to consider all factors before choosing either technique. Ahead, Studer shares her best tips for achieving the stenciled wallpaper look.
Prep Your Walls Correctly
When using paint and stencils to mimic wallpaper, it’s crucial to consider your wall’s surface texture and prep accordingly. For a pristine result, be sure to clean your walls so you have a dirt- and dust-free surface to stencil over. Also, fill in or repair any cracks and chips you see. And if you need to refresh your base wall color, now is the perfect time to prime and paint your walls (at least 24 hours before you stencil). Flat base paints work well, as paints with higher sheens can cause more paint seepage (stenciling over textured walls may also increase paint seepage). “Smooth, evenly primed walls will give you the best results, as any imperfections or rough spots on the wall may affect the stencil’s clarity and precision,” Studer says.
Use High-Quality Stenciling Materials
To get the look just right, Studer outlines the best materials to have on hand as you start your stenciling project:
Stencils: Look for sturdy and reusable stencils in your desired patterns and sizes.
Paintbrushes, foam rollers, or stencil brushes: These will help you apply paint evenly within stencil boundaries.
Paint: Look for acrylic or latex paint in your chosen colors, and remember to avoid oil-based paints.
Painter’s tape or adhesive spray: This helps secure stencils in place and prevents paint bleeds.
Drop cloths: These can protect floors and furniture from paint splatter.
Paint trays and liners: The proper containers can help you hold or mix paint as you go.
Level: A level aligns your stencils to keep them straight.
Cleaning supplies: Water and mild soap work well for stencil maintenance. Baby wipes can also work for small clean-ups and wiping stencils.
Have Realistic Expectations
Know going into the project that your results won’t be perfect. Despite your best prep and technique, bleeding can still occur since you’re creating a pattern with fresh paint (unlike wallpaper, where the pattern comes pre-printed). Although these flaws generally do not impede the final result, if you appreciate finer details and crisply outlined motifs, wallpapering may be a better solution for you.
