The advent of electro-mobility has led to an industrial upheaval in the field of automotive production. In the past there were basically two types of engines: diesel and gasoline. In the last three or four years we have been hearing more and more about BEV, HEV, PEHV, and FCEV. This simple change in nomenclature has led to an epochal technological revolution under the hoods.
The automotive industry has always had the objective of improving performance while simultaneously reducing the environmental impact of cars. For traditional ICE engines, the increase in performance and the reduction of pollutants have been achieved by producing increasingly precise components (crankshafts, camshafts, pistons, etc.), which have allowed the reduction of fuel consumption, obtaining a secondary benefit of reducing polluting emissions.
The increasingly smaller, and therefore challenging, production tolerances of all internal combustion engine components have led to the development of technologies capable of measuring microns with contact or image projection systems.
The transition from ICE to electric powertrain requires a complete review of the approach to quality and process controls. Compliance standards typical of the traditional automotive world are now being applied to controlling parameters and physical characteristics that are often completely new (such as the value of electric current or resistance to partial discharges). Some existing checks for ICE find even more extensive applications for the EV sector. For example, the leak test to verify the perfect sealing of the oil/water circuits takes on even more strategic importance on all the components of the electric powertrain, where the presence of leaks not only represents a potential reduction in efficiency but also a safety risk.
In addition, the advent of electrification has led to the need to control features such as electrical insulation tests, which must be carried out on all components of an electric powertrain, from the electric motor to the batteries to the power electronics, which do not have an ICE equivalent. Established technologies are no longer sufficient to be able to measure and inspect the components used in new electric cars. Therefore, the development of innovative technologies has become necessary to measure the components of the engine (hairpins, complete stators, magnetized rotors) and of the fuel system, which it is no longer made up of a simple tank full of fuel but of a series of various types of batteries.

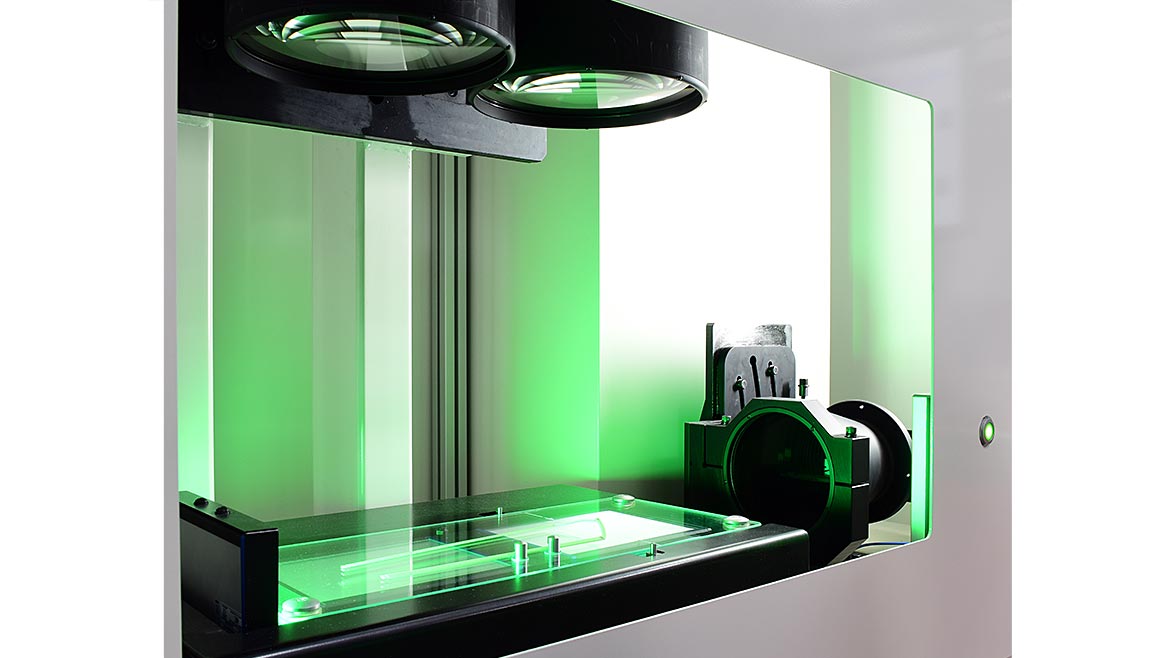
The Marposs Hairpinflash uses 2D imaging for noncontact evaluation of hairpins.
Even for electric motors the problem of high performance, compact dimensions, and reduced consumption arises. Technological development has led to the creation of electric motors that do not use the classic wound electrical circuits made up of thin copper wires, but use the so-called hairpin technology. In these motors the windings are made using copper conductors with a rectangular or square section, which allow a high filling factor of the stator slots, increasing the energy density of the motors thus making them more compact and high-performing.
Each electrical stator is made up of several hundred hairpins having different dimensional shapes based on the position of the stator. Therefore, it was necessary to develop measurement systems capable of analyzing these extremely delicate components ensuring that the measurement system did not interfere with the geometry of the piece itself. One solution is to capture a series of images of the hairpins, carrying out noncontact measurements using two-dimensional images. Dedicated measurement algorithms will then be able to convert the information contained in the images into dimensional values necessary for controlling the quality of the individual piece produced.
Once all the hairpins have been assembled inside the stator, the need to control the production process arises. Once inserted, the hairpins are widened, twisted and the stator is ready for the subsequent welding operations, which have the aim of creating the electrical circuits of the motor by connecting the power terminals.

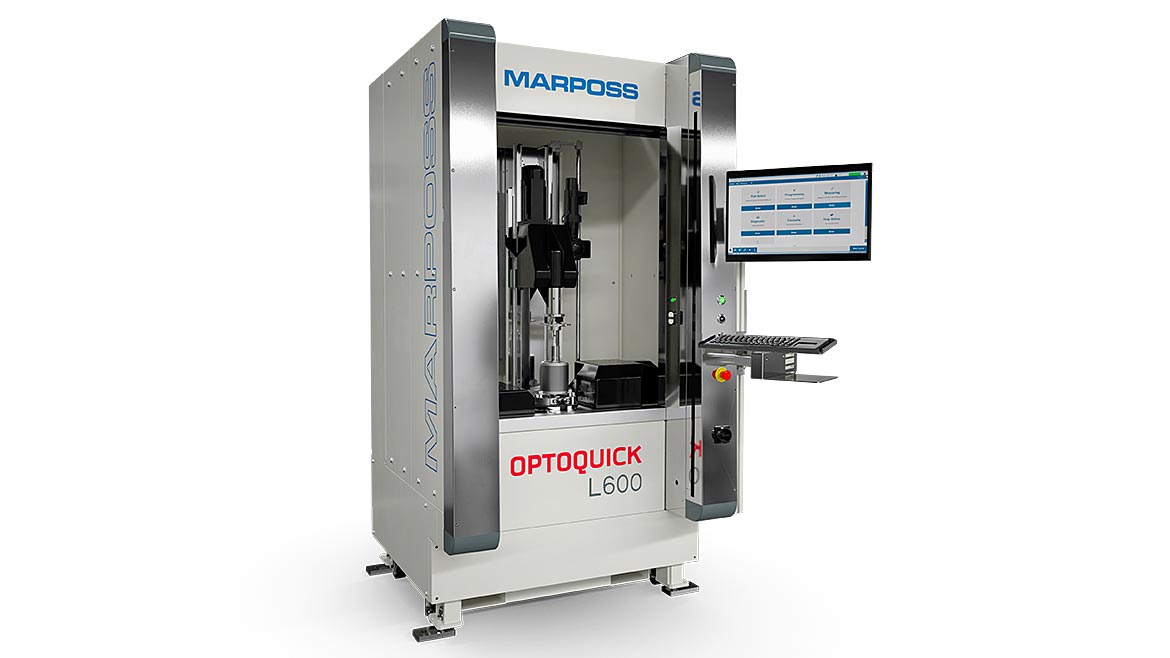
For high-precision measurement of cylindrical parts on the shop floor, solutions such as Marposs OptoQuick provide excellent performance in terms of accuracy, repeatability and stability.
In all operations, it is necessary to verify the correct positioning of components inside the stator in order to carry out the correct welding of the terminals. And, once the welding has been carried out, it is necessary to verify their shape and correct positioning.
Carrying out these checks is not possible using traditional contact systems, so measurement systems have been developed based on 3D laser reconstruction of the surfaces to be inspected. Other specifically-developed measurement algorithms allow the conversion of information contained in point clouds, composed of millions of data that convey height measurements, distances, angles, etc. Point cloud analysis also allows you to evaluate the quality of the weld based on its shape.
Once the welding operations that complete the electrical circuit have been performed, the stator undergoes a resin process, which allows the exposed parts of the electrical circuit to be isolated. The position of the resin is also important to define the quality of the finished product, and it is, therefore, necessary to verify that the insulating resin is in the right places and has not contaminated areas where it should not be present. To carry out these types of checks, linear or matrix cameras equipped with special lighting (usually ultraviolet sources) are used to highlight the presence of the resin.
Stator, transmission and other components are in turn contained in components obtained from casting operations (typically aluminum), which can present casting quality problems. Very often, verification of the presence of defects on the sealing surfaces where the gaskets are applied is required. In this case, it is also possible to verify surface quality using cameras that inspect the entire surface.
At this stage it is necessary to measure the part of the electric motor called the rotor, which is connected to the transmission and allows the torque to be transferred to the wheels, making electric cars zoom from 0 to 60 mph in the blink of an eye.
There are basically three different types of rotors — wound, squirrel cage or those with permanent magnets. All these rotors can be measured both from an electrical and mechanical point of view with contact measurement systems and with image projection measurement systems. In regard to control of permanent magnet rotors, Hall sensors can be used to measure the pattern of the magnetic field generated in order to verify its correspondence to the construction specifications.
Batteries also require checks that range from leak testing to verify there are no electrolyte leaks through dimensional checks. Other typical checks carried out on individual batteries are electrical tests, insulation tests, and checking for the presence of defects on the body before and after the insulation application operation known as wrapping. Checking the presence of surface defects in both the container and the insulation is necessary to guarantee the integrity of the component.
Regarding the evaluation of defects, it is rarely possible to know in advance what types of defects may appear on the surfaces being inspected (scratches, dents, stains, contaminants, etc.). For this reason techniques based on AI systems can be used to train the system – for example, to recognize everything that is not defined as good. The availability of good pieces with which to train the AI system is certainly broader and more repetitive than identifying all the possible types of defects.
In general, vision techniques can be applied in all those fields where it is not possible to “touch” the component being measured, either due to its complexity or its delicacy.
The new challenges brought by the electric vehicle revolution have made it possible to develop measurement and inspection systems based on vision techniques that can be used individually or integrated into AI measurement systems. Therefore, to play a key role as a supplier of products and applications dedicated to quality and process control for the evolving automotive market, it is necessary to be prepared to offer transversal skills that are not limited to geometric and dimensional measurement alone, but which span across different fields and use the most innovative technologies.